No audio available for this content.
How are oblique views derived from aerial imagery?
Typically, a camera takes a field of view of 120 degrees (+/– 60 degrees either side of centerline). The nadir is straight down +/– 5 degrees either side, but everything beyond is considered oblique imagery.
Overlapping imagery is required to ensure clean images and to reduce the angle of obliquity. Too much of an oblique angle causes parallax, which distorts the image, so it is usual for imagery to overlap by 70% each pass, meaning that 30% either side of center is used, but everything except for a small path considered nadir is double imaged.
However, in the case of stereographic imagery, which is required for building a 3D mesh, the overlap has to cover the centerline of the last flight path, so the flights must be much closer together.
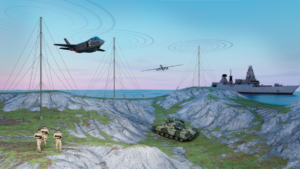
Oblique imagery allows 3D meshes to be created, which is a huge benefit to geospatial analysis. It allows the actual terrain to be measured not in a straight line, but in an actual topographic line that includes elevation changes for point-to-point distance.
Additionally, straight lines work when everything looks flat, but in reality straight lines are rare, and point-to-point measurements often have to take advantage of the existing terrain, avoiding steep terrain and aiming to stay on the highest ground to avoid marshy areas.
Oblique imagery also allows for mensuration, which is the measurement of the vertical based on the trigonometry of the sensor’s position and height compared to the target’s angle. More than one oblique image of the same target area allows for stereographic imagery for building the 3D meshes and seeing in 3D. Without the magic of oblique imagery, GIS would be a 2D science.